Supplies:
Old T-shirt (any size really works, i used a 2T shirt to make a shirt, instead of a dress, for my 10 mo old daughter, the technique all works the same)
Scissors
Elastic (I used 1/4 inch, but really it just depends on how big a channel you want to make at the top)
Thread and needle or sewing machine
Steps:
1. Take your t-shirt and lie it out then fold it in half matching up shoulder seams and sleeves.


2. Cut across the top of the shirt, detaching the neck and cutting into the shoulder.

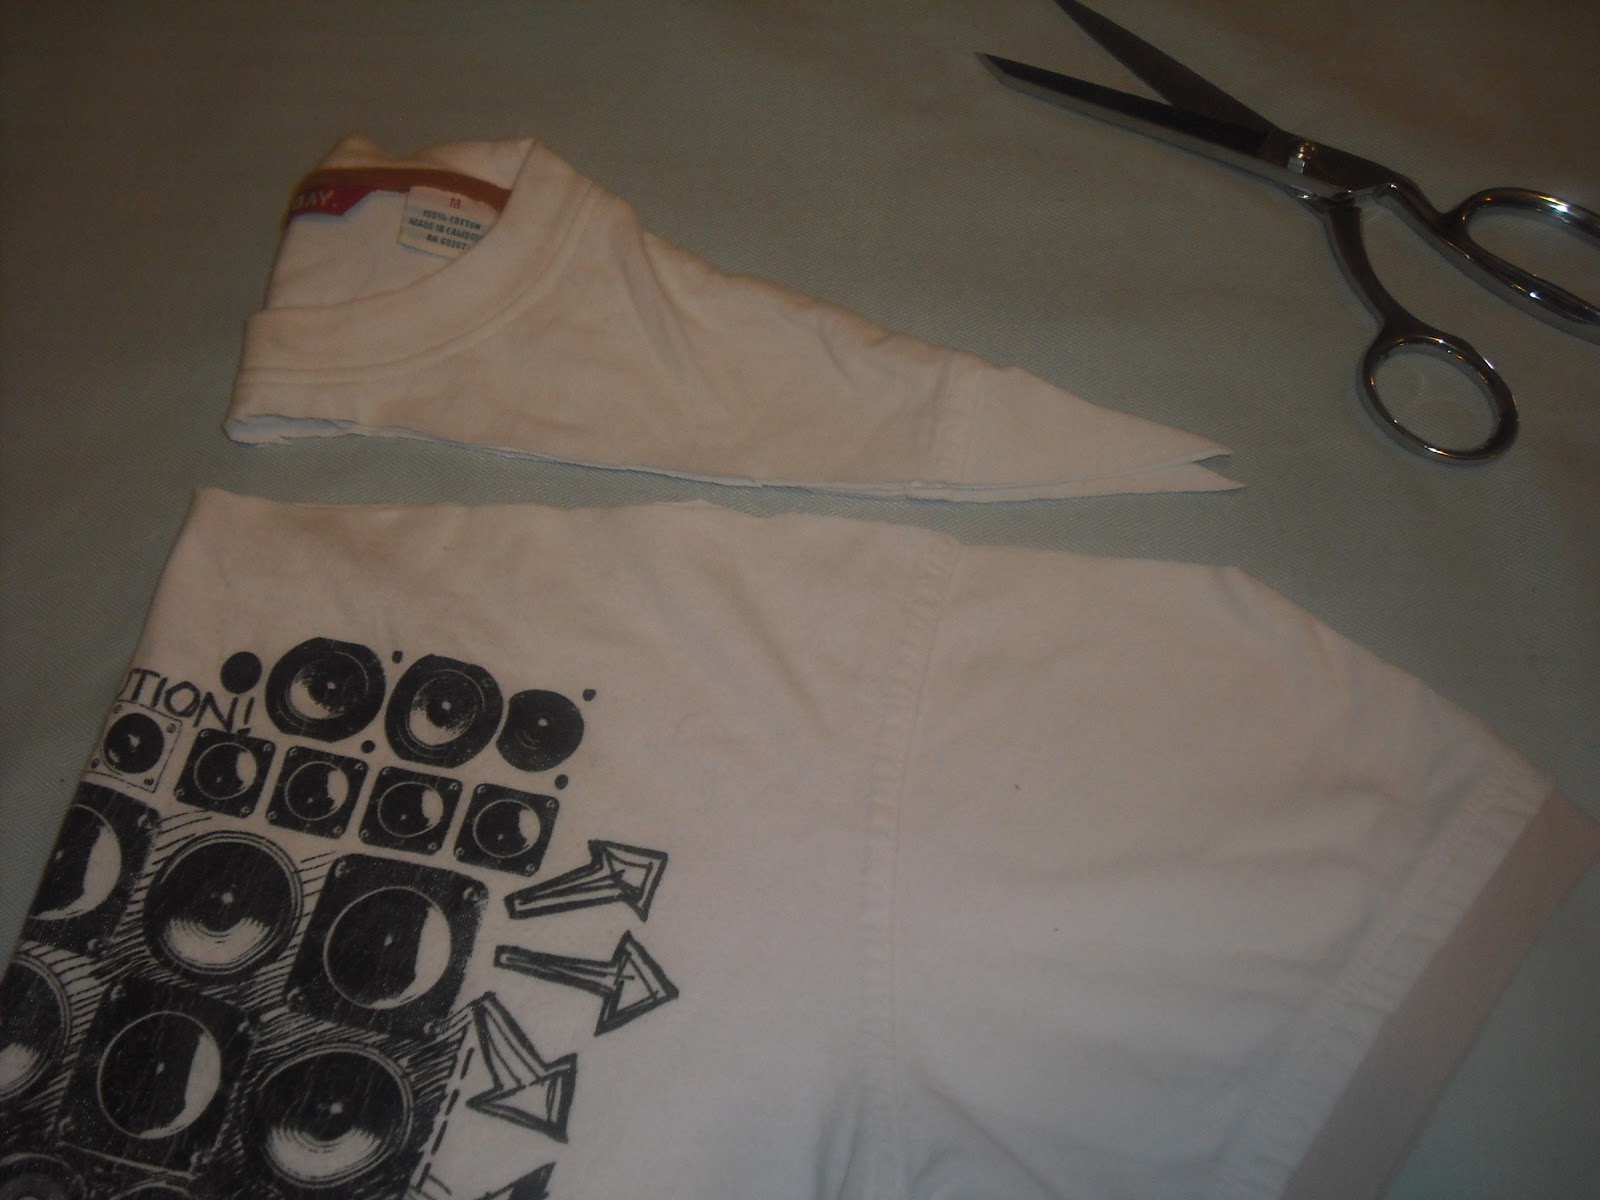


with the V

after I straightened it out
4. make your casing, fold over about a half inch of fabric towards the inside of the shirt and pin in place, this will be the casing for your elastic.


Tip: what I tend to do is pin around the inside as I make my casing, but then switch the pins to be on the outside because I find that stitching on my machine from the top creates better looking stitches. Thats why it in the first picture the pins are on the inside of the shirt and in the second they are on the outside.
5. Stitch (either by hand or with your machine) around the neckline making sure to leave room for the elastic but catching the edge of the casing. Also, make sure to leave a space unstitched where you will insert your elastic

6. Measure out the elastic, my rule of thumb is a little less than half the circumference of the shirt to start.

7. Insert the elastic into the casing (I like to use a safety pin attached to the end of the elastic to help guide it, I also pin the other end of the elastic to the shirt once I have fed it into the casing all the way, this way it won't get lost in the shirt from the other end.

8. Once the elastic has been pulled through and the fabric gathered secure the end of the elastic with a pin and try the shirt on the one its intended for. This way you can see if it needs to be gathered more, when the neckline is the size that it needs to be sew the ends of the elastic together and stitch up the hole that you left in the casing. And there you go! Peasant shirt!

There you have it...I have a few I've made so far, but need to get my models to put them on for me, this picture just doesn't do it justice.
No comments:
Post a Comment